MIDI (MTC & MPC)
MIDI synchronisation gives even more control, and audio-visual precision, controlled from the DAW or desk.
Link the SPACE HUB to a MIDI Timecode to trigger settings automatically. Snapshots can be triggered from either MTC (MIDI Timecode), MPC (MIDI Program Change), OSC or manually in SPACE HUB Control. To select the MIDI interface for receiving MTC & MPC, open the Settings Page and choose the appropriate MIDI Input in the Project Tab.
MIDI Timecode (MTC)
In order to synchronize the SPACE HUB to a playback engine or lock to a video or light show, a unique timestamp can be assigned to each Snapshot. The Fade Time setting for the Snapshot still remains active and the timestamp defines the start of the fade curve.
As soon as a MIDI input is selected and SPACE HUB Control receives MTC, the Timecode Display in the Bottom Bar will start running. The framerate is automatically adjusted to match the input. The separator between seconds and frames in the Timecode Display shows the incoming framerate:
Symbol |
framerate |
|---|---|
, |
24 frame/s |
. |
25 frame/s |
; |
29.97 frame/s |
: |
30 frame/s |
Caution
Timestamps must be unique to avoid ambiguity. If a particular timestamp is already assigned to a Snapshot, you will not be able to set the same timestamp on a different Snapshot, instead the text will be cleared.
MIDI Program Change (MPC)
Snapshots can also be triggered from MIDI Program Change (MPC) commands. These can be sent from most DAWs, hardware MIDI controlers or desks. Each Snapshot must have a unique MPC number in the range 1 to 128. MPC numbers can be assigned to Snapshots on the Control Page in the Snapshots Tab. When a MPC command with this number is received on the MIDI input specified on the Settings Page, the corresponding Snapshot will be triggered (starting the Fade time specified for this particular Snapshot). MPC are either sent in the 0-127 range or as 1-128, depending on the specific implementation. To account for this offset, the MPC Range can be adjusted on the Settings Page.
Virtual MIDI Interfaces
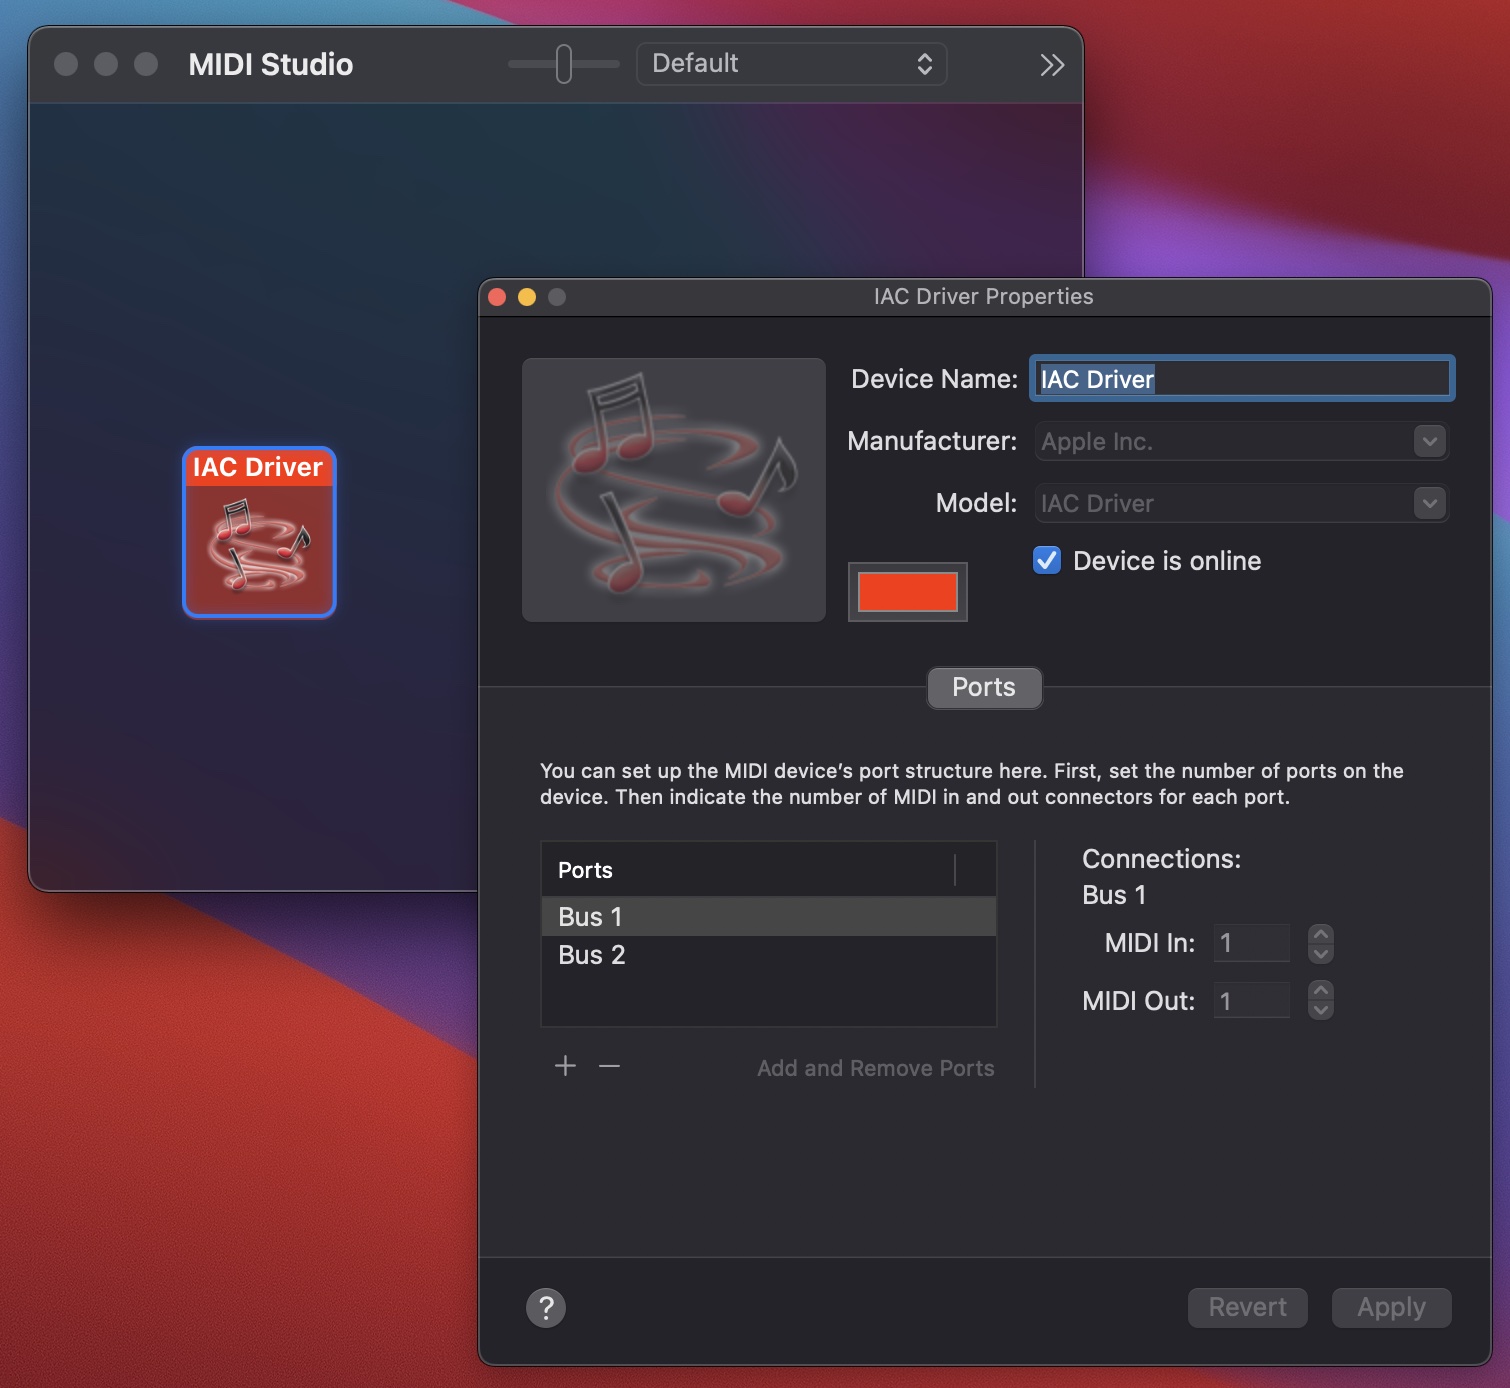
If the DAW sending timecode and SPACE HUB Control run on the same machine, it can be preferable to use a Virtual MIDI Interface instead of a hardware unit. macOS features a built-in Virtual MIDI driver called IAC which can be found in the Audio MIDI Setup app. The IAC bus can be enabled by selecting “Show MIDI Studio” in the Window menu. Double-click the IAC Driver icon and make sure that “Device is online” is checked. There should also be atleast one Bus in the Ports list. This virtual interface can then be selected in the DAW sending timecode as a MIDI output and as a MIDI input on the Settings Page in SPACE HUB Control.
Logic Pro X

To start sending MIDI Timecode from a Logic Pro X session, open the Settings menu via File -> Project Settings -> Synchronization -> MIDI. Make sure that IAC Driver Bus 1 is set as Destination and that the MTC option is selected for that Destination.
Reaper
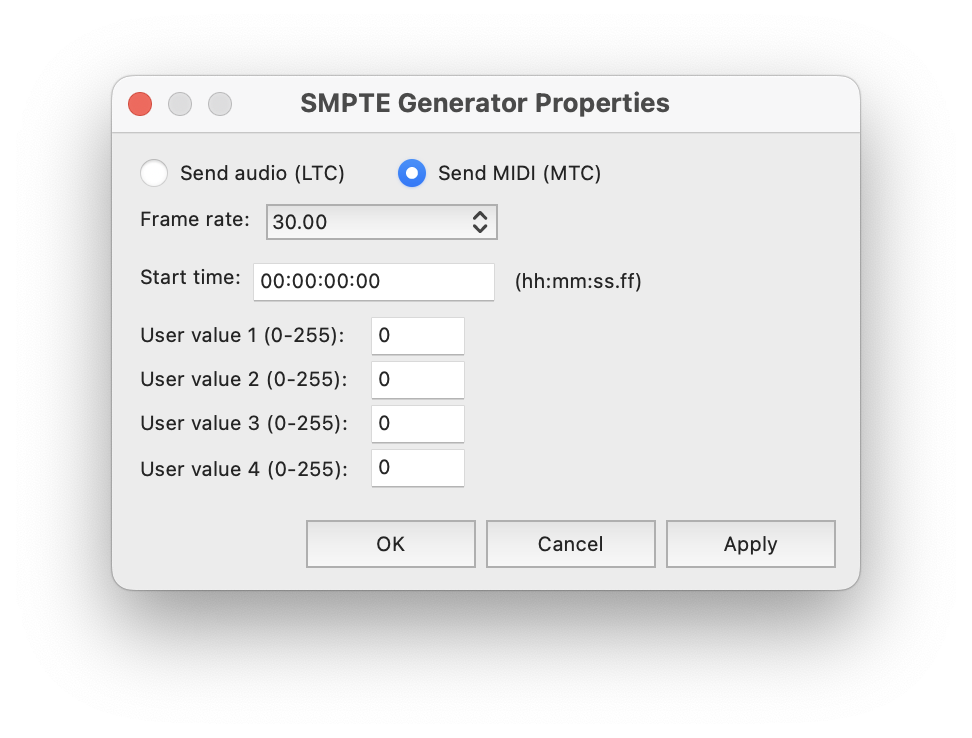
To start sending MIDI Timecode from a Reaper project:
Create a new track, and make it the current track
Select from the Menu bar - insert -> SMPTE/MTC Timecode generator. This will insert a media item on the track.
Right click over the item and choose ‘Source Properties’ from the context menu to display the settings:
Pro Tools
Caution
When sending timecode from Pro Tools and playback is set to loop, the MTC generator will not jump back to the start of the loop. Instead the output is freewheeling (increasing with each loop). This means that Snapshots will only be triggered correctly on the first run of the loop. To avoid this, briefly stop and restart the playback from the beginning of you loop region.